VIVE 无线升级套件设置指南

安装概述

安装 PCIe WiGig 卡和无线串流盒

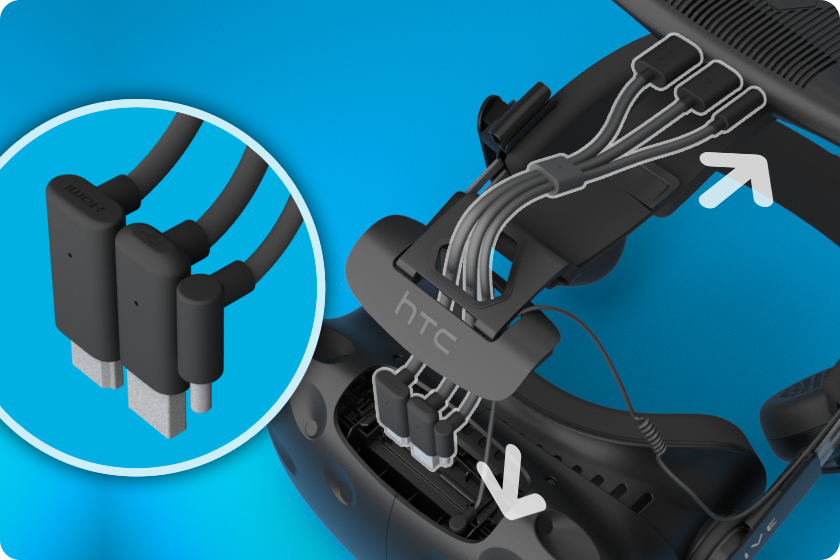
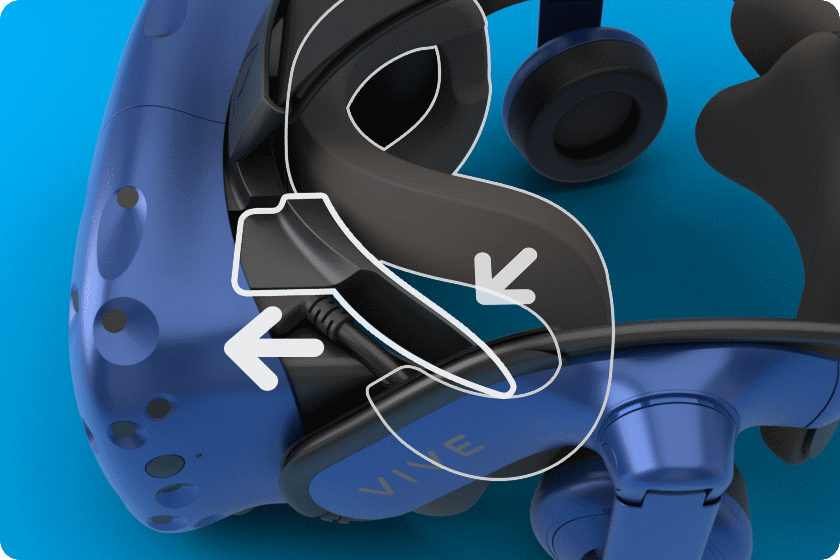
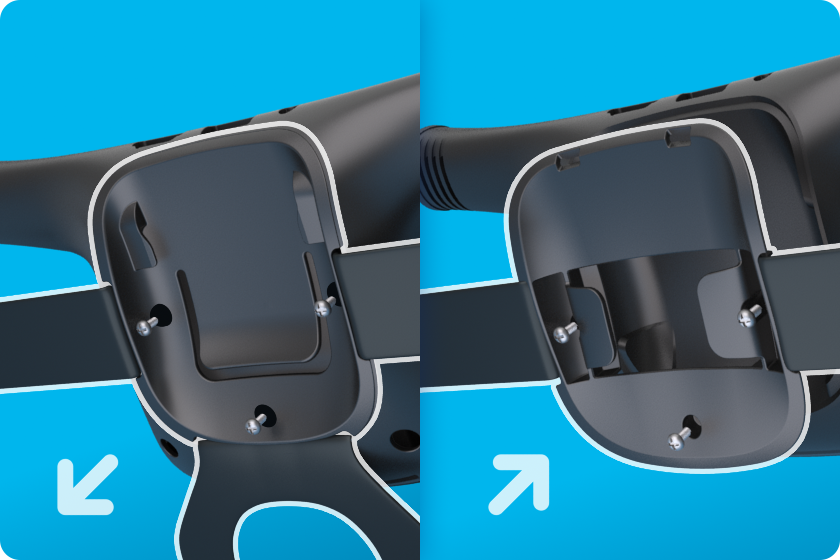
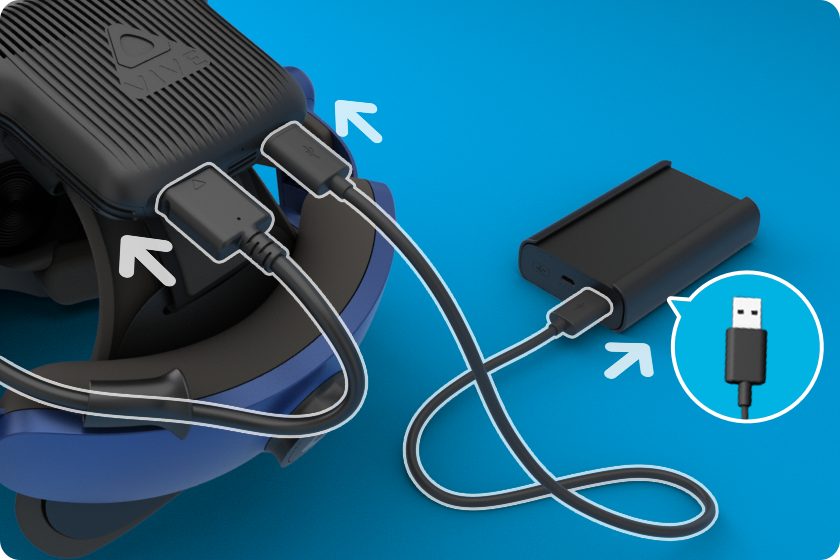
连接无线升级套件

下载应用程序
重要:
- 需要有可用的 PCIe 插槽来安装 WiGig® 卡。
- 电脑上需要安装 64 位 Windows® 7 SP1 或 Windows® 10。
- 安装无线升级套件之前,请确保已成功完成 VIVE headset 的设置。

第 1 步
安装 PCIe WiGig 卡和无线串流盒
安装 PCIe 卡和无线串流盒之前,请务必关闭电脑。通过手机扫描此处的二维码可获取相关说明。

www.vive.com/setup/wireless
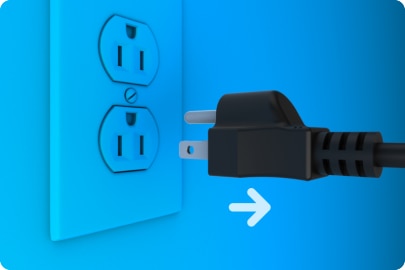
- 拔下电脑电源。
关闭电脑。拔下电脑电源线以及其它所有连接线。
注意: 如果长时间使用电脑,电脑可能发热。请等待几分钟,让电脑冷却下来,然后再拆下其盖板。
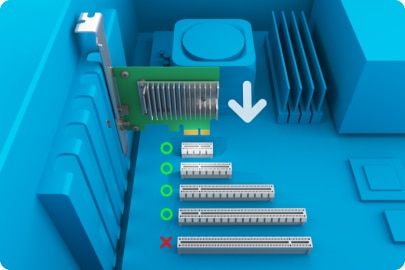
- 在电脑中安装 PCIe WiGig 卡。
将 PCIe WiGig 卡插入主板上的可用 PCIe 插槽中.
注意: 在极少情况下,具体视所用主板品牌而定,可能会出现兼容性问题。如果出现此问题,请尝试使用其它 PCIe 插槽。
- 合上电脑盖。
牢固地合上电脑盖。重新将电源线以及其它所有连接线连接至电脑。
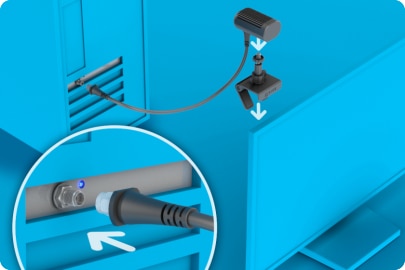
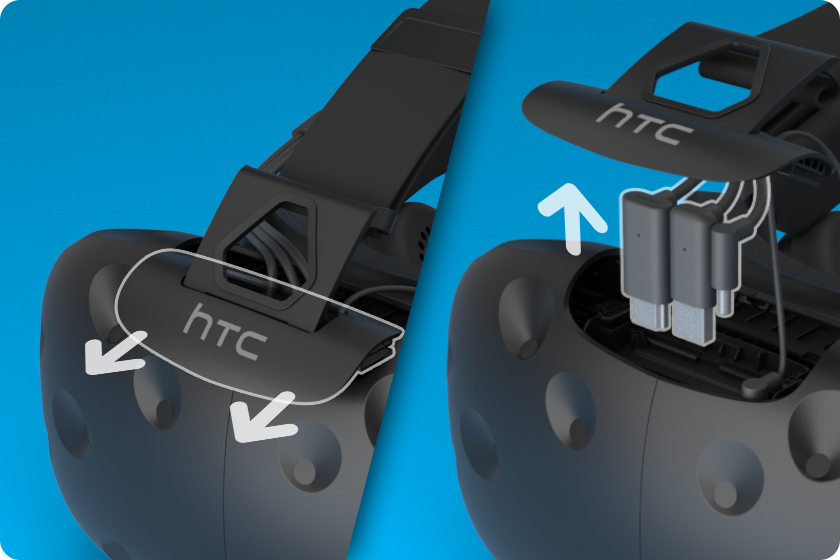
- 将无线串流盒连接至 PCIe 卡。随后将其夹在显示器上。
将无线串流盒连接至该卡。用螺丝将随附的夹片拧到串流盒底座上。然后将夹片固定到显示器上。
- 启动电脑。
现在可启动电脑并继续执行下一步:将无线升级套件连接至您的头戴式设备。
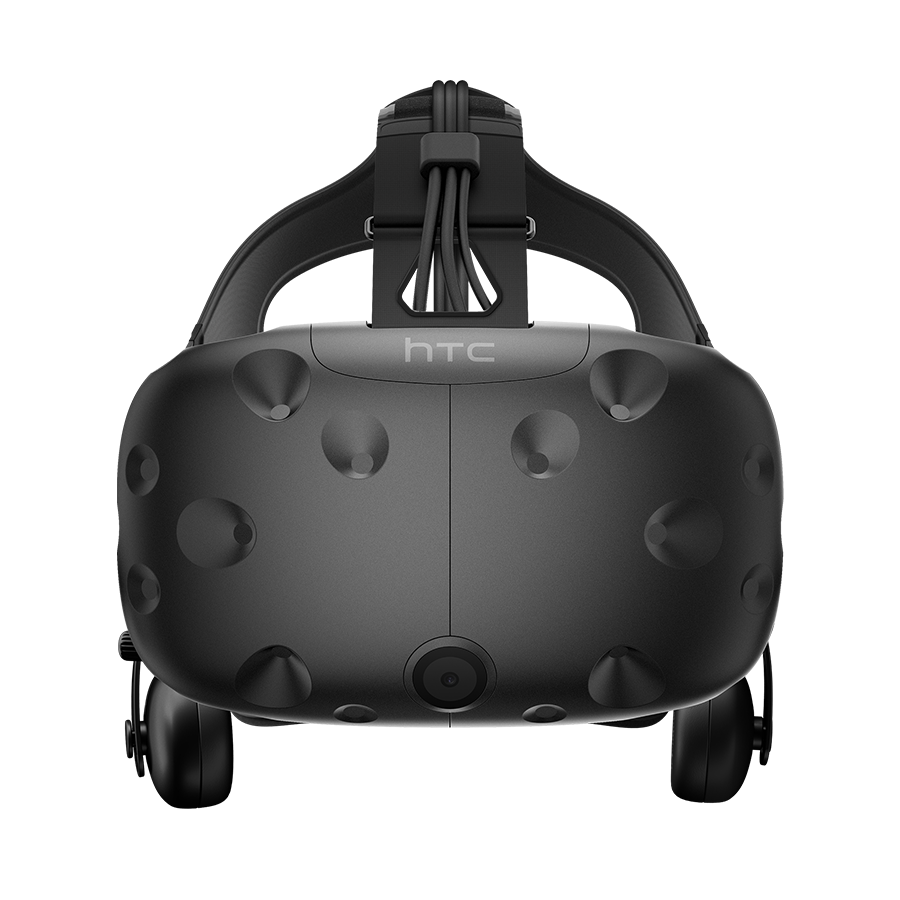
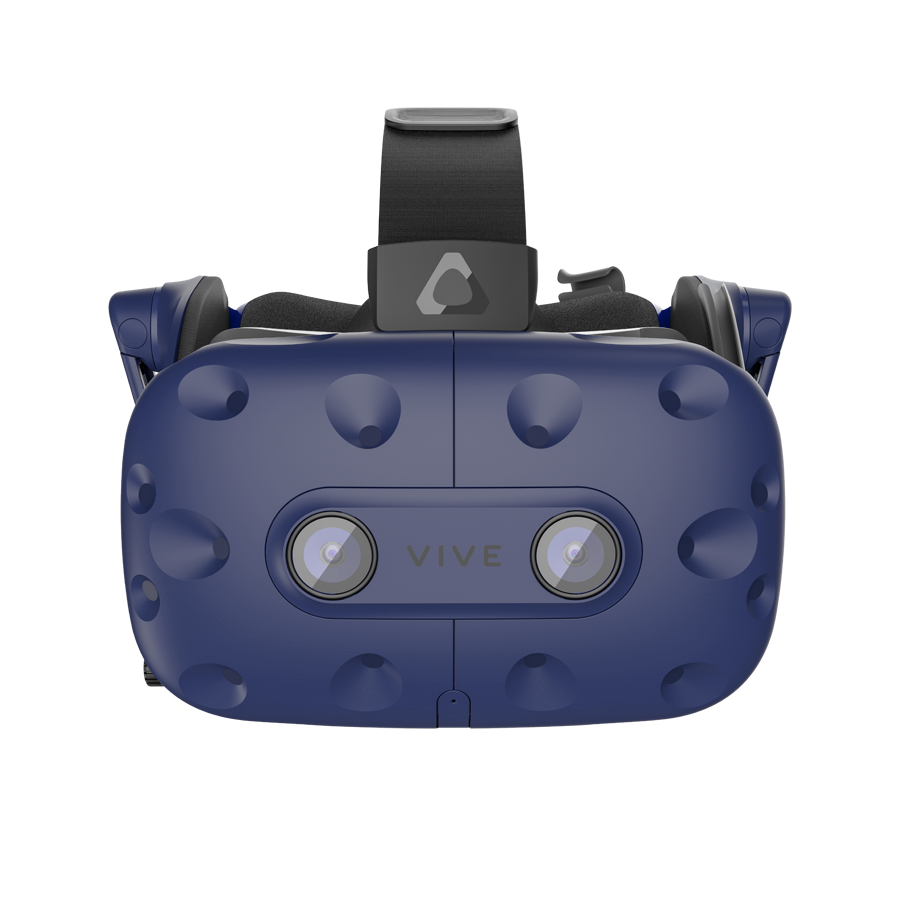
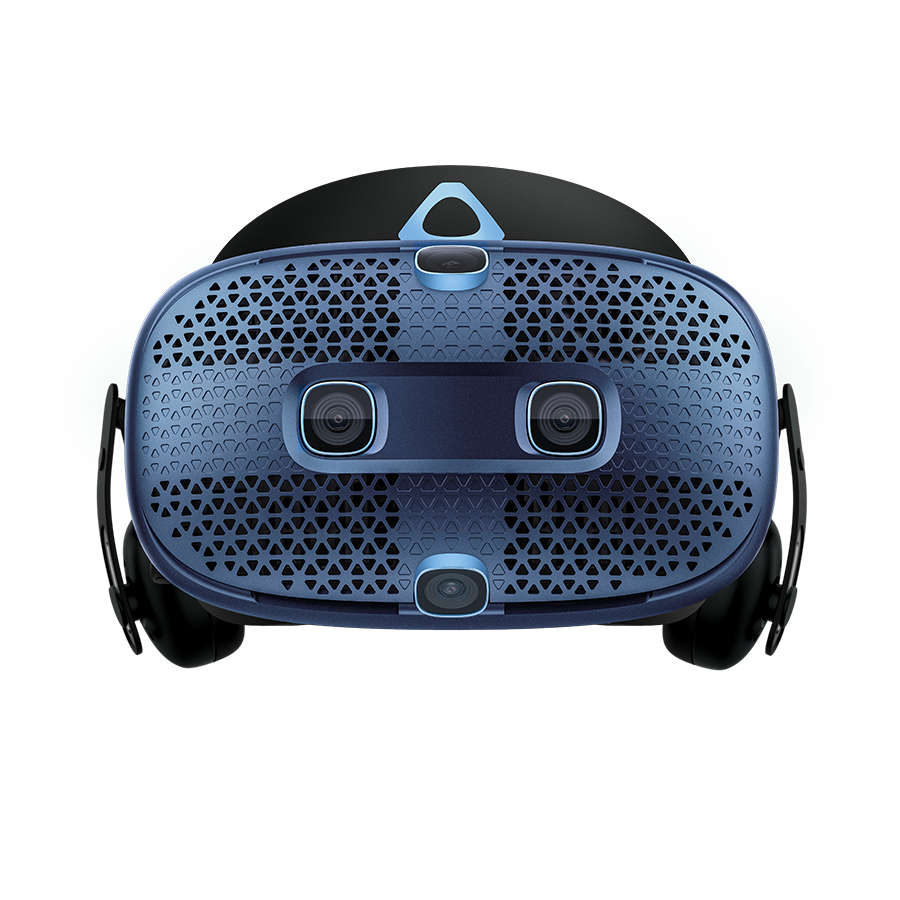


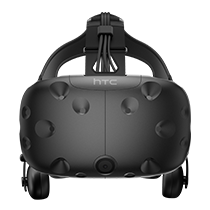
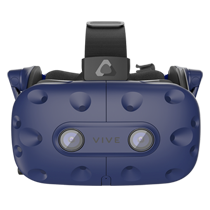
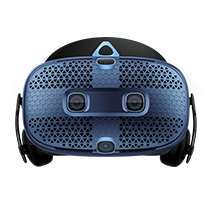
重要: 要插卡关于如何将无线升级套件连接至头戴式设备的说明,请选择上面的一种头戴式设备类型。


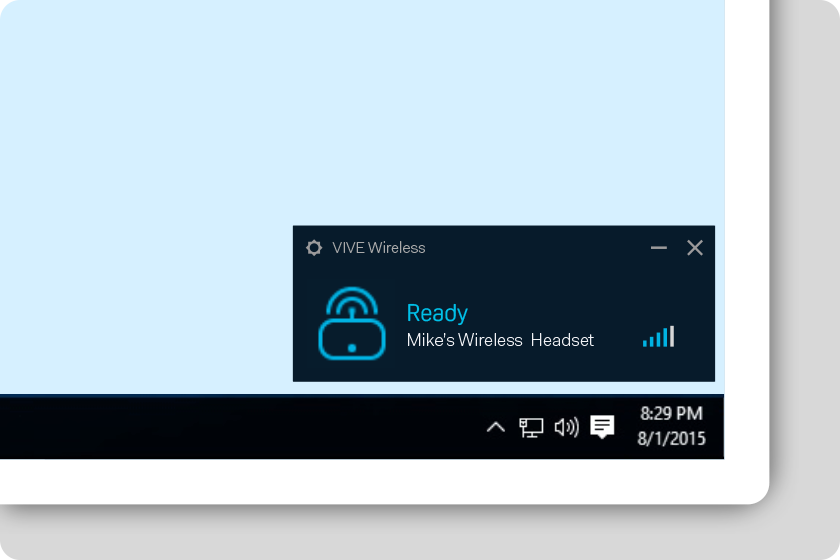
- 下载并安装 VIVE Wireless 应用程序。
按照屏幕上的说明将无线升级套件与无线串流盒配对。
- 享受无线虚拟现实体验。
将随附的 HTC 移动电源放在腰带或口袋中。现在可通过无线方式享受虚拟现实世界的乐趣!
恭喜!
您已充分发掘了 VIVE 的全部潜能。准备好享受不受限制的虚拟现实体验吧。
要获得最佳的无线体验,您可能需要根据您所在空间或环境稍作调整。 请参见 支持页面 以了解更多详情。