VIVE Wireless Adapter setup guide

Installation overview

Install the PCIe WiGig card & wireless link box

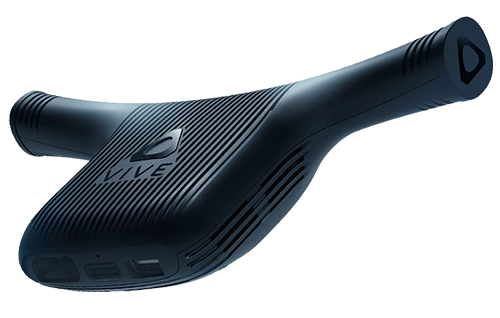
Attach the Wireless Adapter

Download the app
IMPORTANT:
- You need an available PCIe slot for installing the WiGig® card.
- You need to have 64-bit Windows® 7 SP1 or Windows® 10 on your computer.
- Before you start installing the Wireless Adapter, make sure you have successfully completed the setup for VIVE headset .

Step 1
Install the PCIe WiGig card & wireless link box
Make sure to shut down your computer before installing the PCIe card and wireless link box. Scan the QR code here to get the instructions on your phone.

www.vive.com/setup/wireless

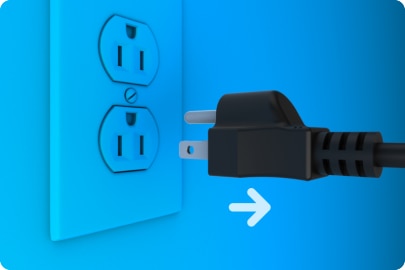
- Unplug your computer.
Shut down your computer. Unplug the power cable and all other cables from your computer.
NOTE: Your computer may be hot if you’ve been using it for a long time. Wait for a few minutes to let the computer cool before removing its cover.

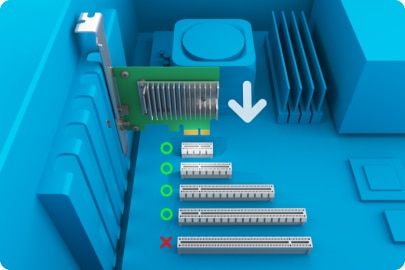
- Install the PCIe WiGig card in your computer.
Insert the PCIe WiGig card in an available PCIe slot on your motherboard.
NOTE: In very rare cases, depending on the brand of motherboard you're using, compatibility issues may occur. Please try other PCIe slots when this happens.
- Close the computer cover.
Close the computer cover securely. Reconnect the power cable and all other cables to your computer.

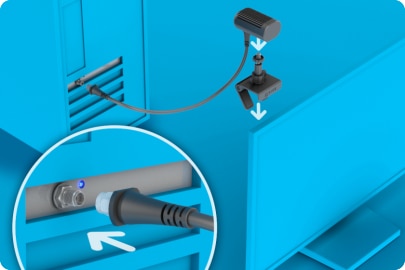
- Connect the wireless link box to the PCIe card. Then, clip it to your monitor.
Connect the wireless link box to the card. Screw the provided clip to the base of the wireless link box. Then, attach the clip to your monitor.
- Turn on your computer.
You can now turn on your computer and proceed to the next step: attaching the Wireless Adapter to your headset.